The mold is used to hold the form of the sides
as the sides are glued to the back.
In order to make the mold, we needed:
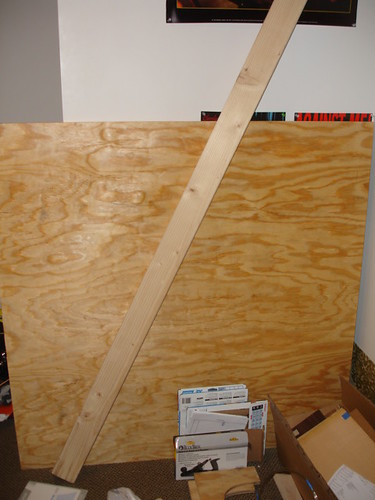
4'x4' plywood sheet
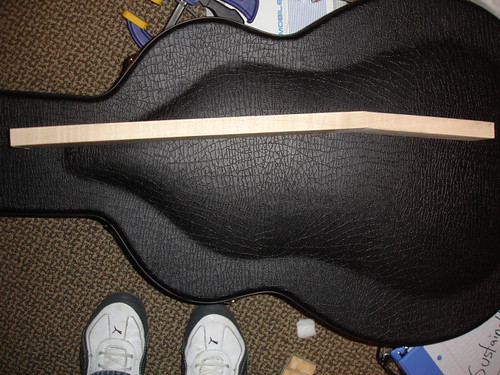
6' of 2x4
Here are our materials:
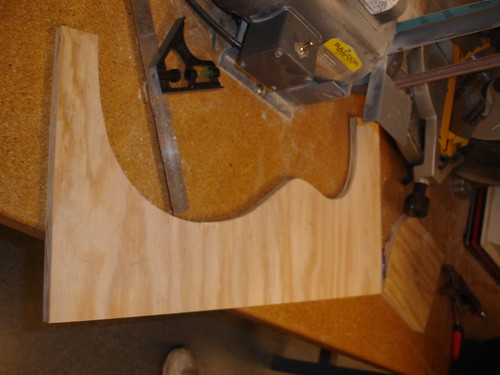
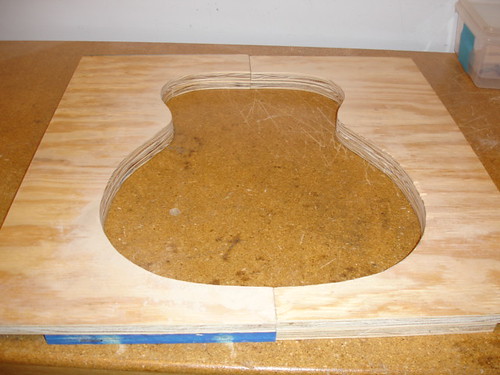
We cut the plywood into 2'x1' pieces. These pieces were
used to make the top and bottom plates. Each plate was cut to look like this:
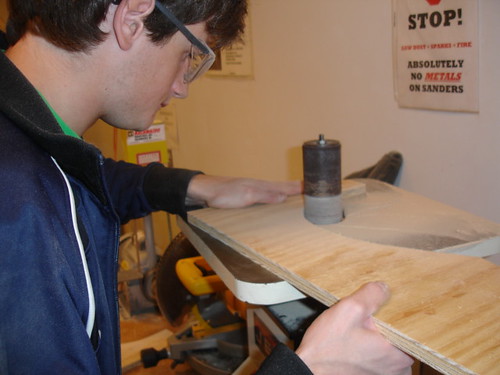
We cut the shape out with a jigsaw, and then sanded the cut with a spindle sander. Here's Raphael sanding down the sides.
The finished mold plates look like this:
Afterwards, we cut the 2x4 into 4" pieces with a miter saw.
We then took these pieces and glued them to the bottom plates. Here's where the molds are right now. Both halves are complete.

From here, we'll be sanding the 2x4 to be flat, so we could glue on the top plate of the mold. Next step: cutting out the soundboard/back shapes!